Step by Step work flow of setup static website using AWS S3 Service.
We can use AWS S3 service for multiple storage solutions. One of them is publish your static website using AWS S3. you can create on bucket and upload all your website content on that bucket after some configuration settings on your AWS S3 bucket. Lets start step by step how we can do that.
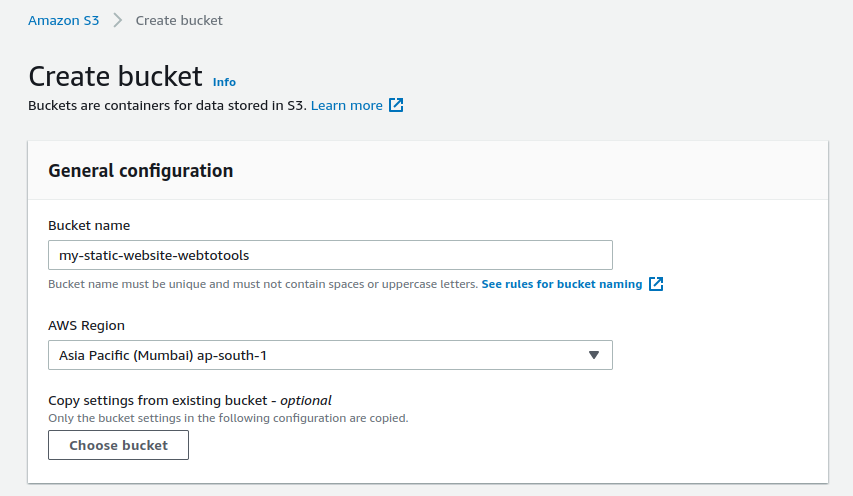
1. Login to your AWS Account and create your S3 bucket.
- After login create your S3 bucket with name “my-static-website” (you can change name as you want).
- Select AWS Region where you want to create this bucket.
- Leave other setting as its is as of now and click on create bucket button.
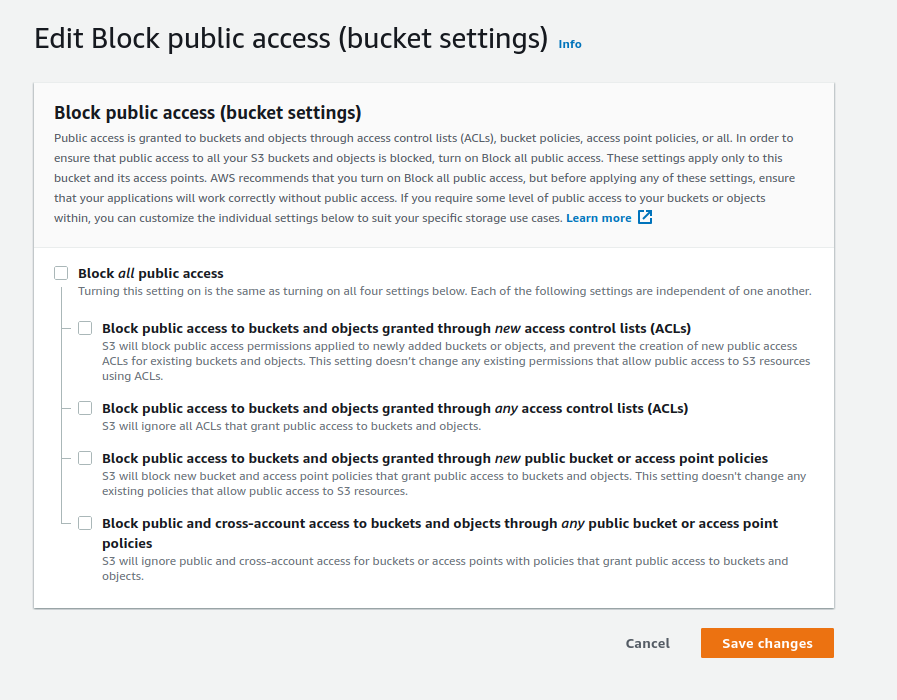
2. Assign Public access to bucket
once bucket successfully created you need to update the access to this bucket to public so if any one visit your website they can see all the content (images etc..). By default bucket and its objects does not have public access.
Note: its required to assign public access to this bucket otherwise you will get forbidden error when you access you site.
- Select your bucket or click on your bucket name to edit it
- click on permissions tab on edit bucket page.
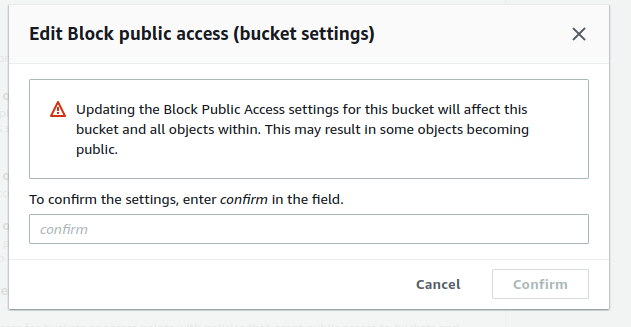
- Under “Block public access (bucket settings)” section you can see edit button. click on edit button and unchecked the checkbox which say “Block all public access”. Save your changes
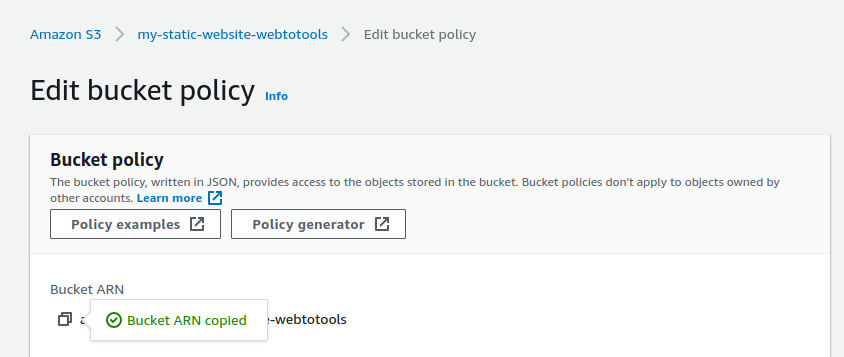
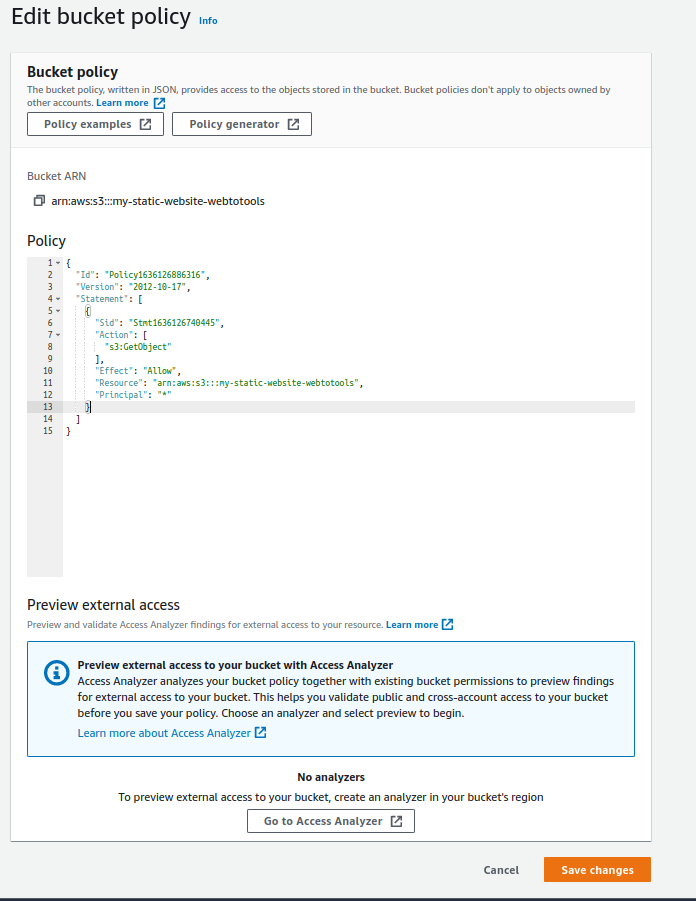
3. Edit Bucket Policy
Now you need to edit your bucket policy so we can access the content of the bucket
- Under the Bucket Policy Section click on edit button at the right hand side.
- On “Edit bucket policy” click on policy generator button. it will redirect you to AWS policy generator page.
- Select policy type as: “S3 Bucket Policy”.
- Under add statement options:
- Effect: Allow
- Principal : *
- AWS Service : S3
- Actions: GetObject
- Amazon Resource Name(ARN): arn:aws:s3:::my-static-website-webtotools (you can change it to yours by copy the name from your edit bucket policy page.
- After fill all the values click on Add statement.

Click Generate policy button and copy the json policy document. look like below
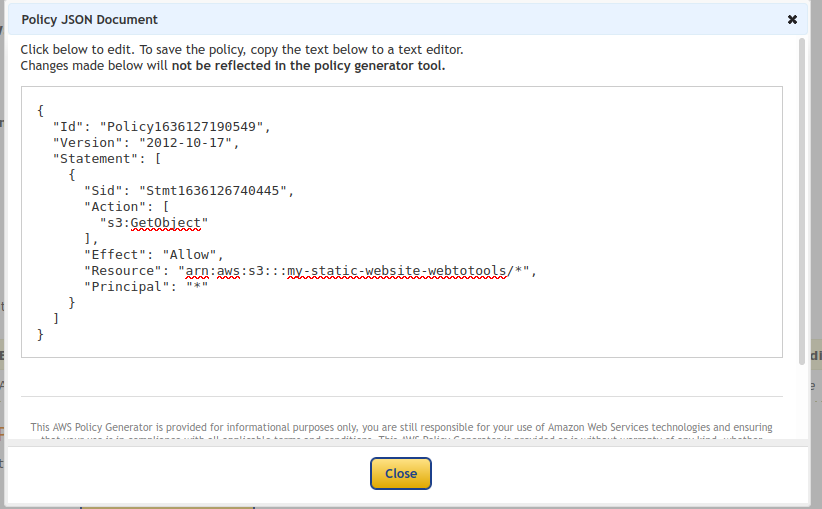
- Paste the json policy content to edit bucket policy section and click on save changes.
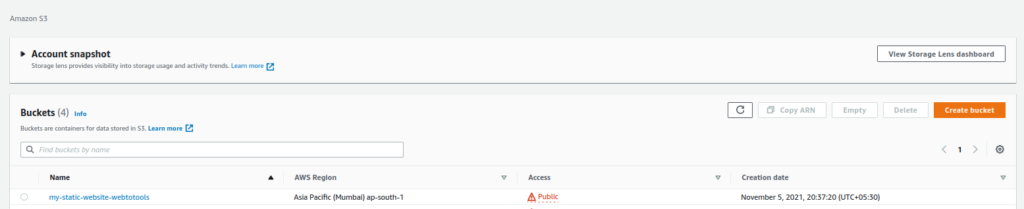
To verify that its publicly accessible you can see “public” status written under access column on buckets listing page.
4. Upload your website content in the bucket.
Its time to upload you static website content in to the bucket.
- Click on upload button and add you website content.

5. Enable Static Website hosting on this bucket
- Edit your bucket and click on permissions tab.
- Scroll down to end of the page where you can see “Static Website Hosting” section.
- Edit “Static Website Hosting” section and click on enable option.
- Under hosting type option click on “Host a static website” radio button.
- Enter the file name where you want to point your main page. In my case its index.html.
- Enter the file name of your error page. in my case its error. html
- Redirection rules: its optional field. leave it blank as of now.
- Click on save changes button to save all changes.
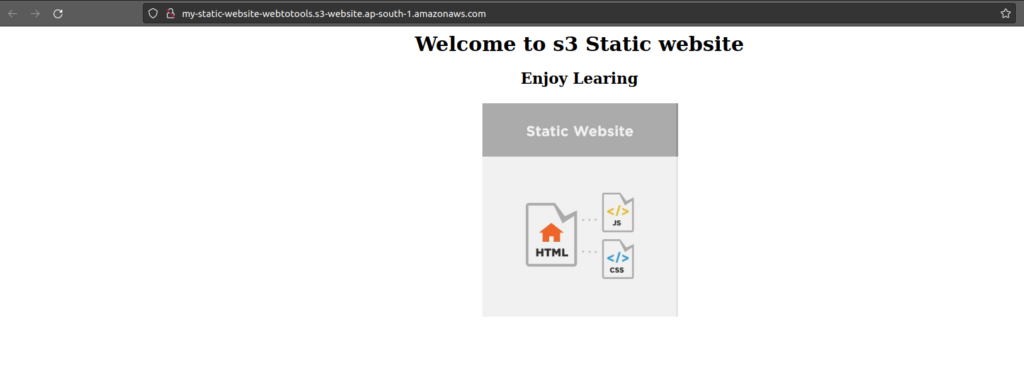
6. Access your website URL
After save all changes mentioned on step number 5 you can see your website URL OR Bucket website end point under “Static Website hosting” section.

Conclusion
Using S3 bucket as website hosting is good use case if you have only static website and do not want to spend money on hosting plans.